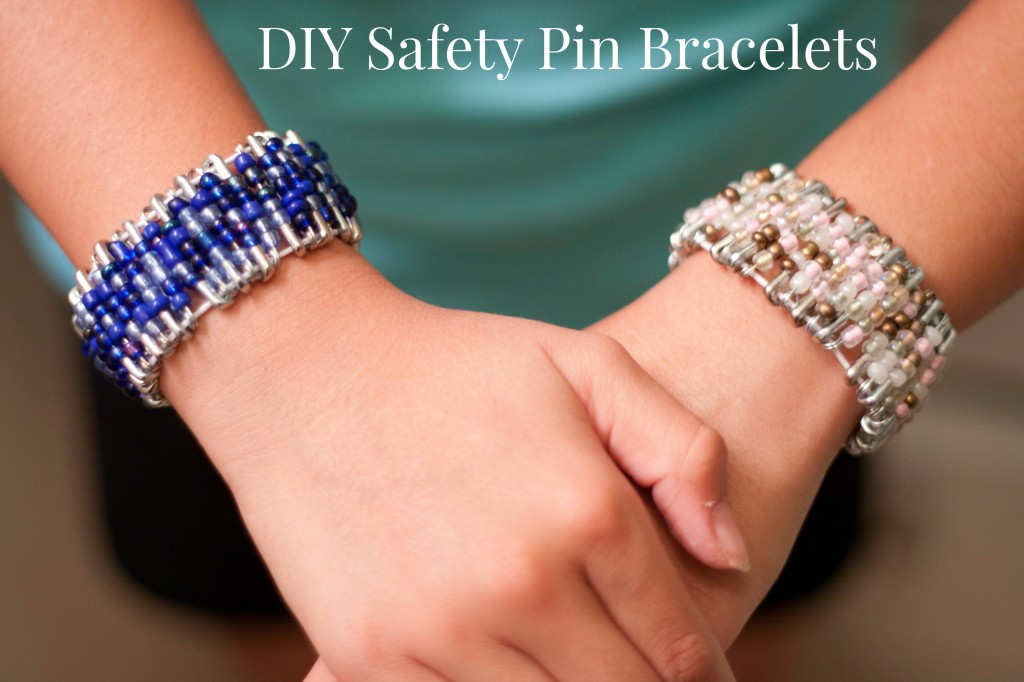
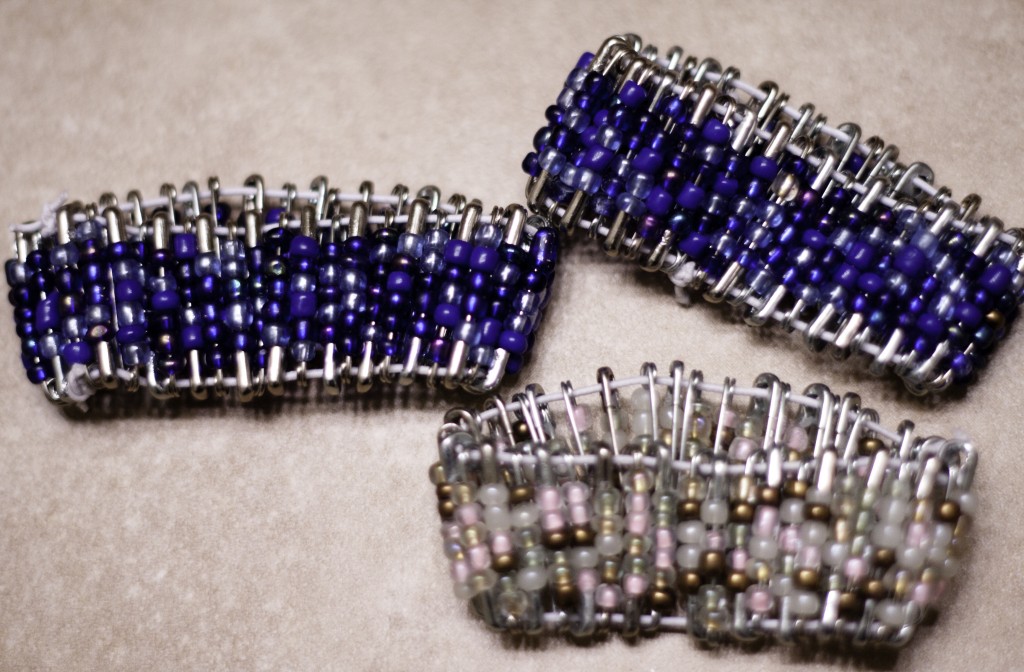
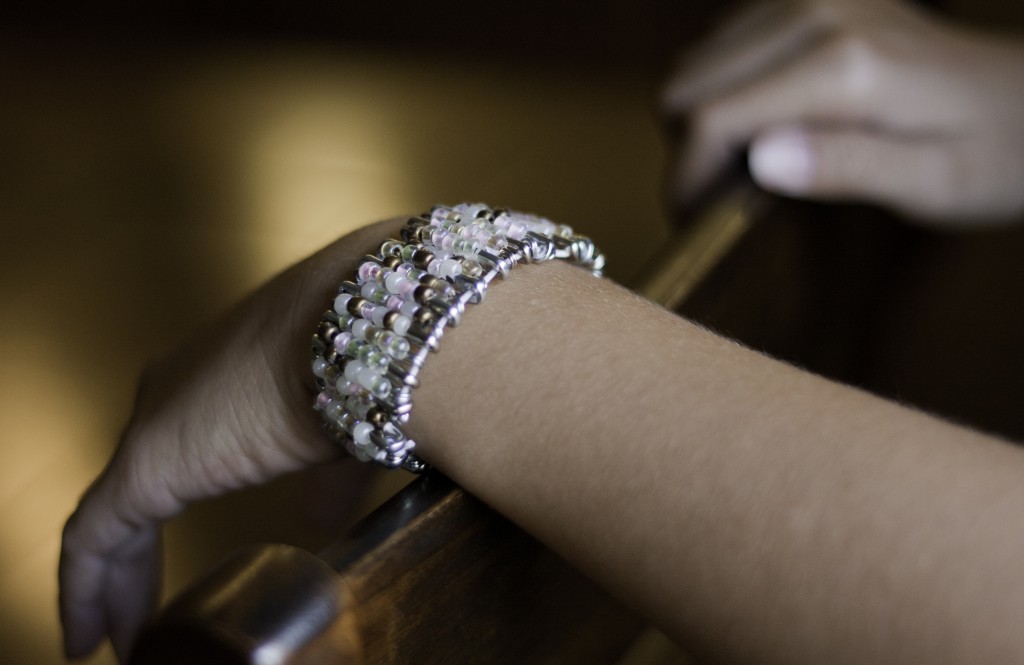
Last weekend I spent the entire Sunday making bracelets with my daughter. They turned out adorable. I posted a picture of the bracelets on Facebook and a few of my friends asked how we made them. I was all “I will post instructions on my blog tomorrow!” It is now a week later, but better late than never, yes?
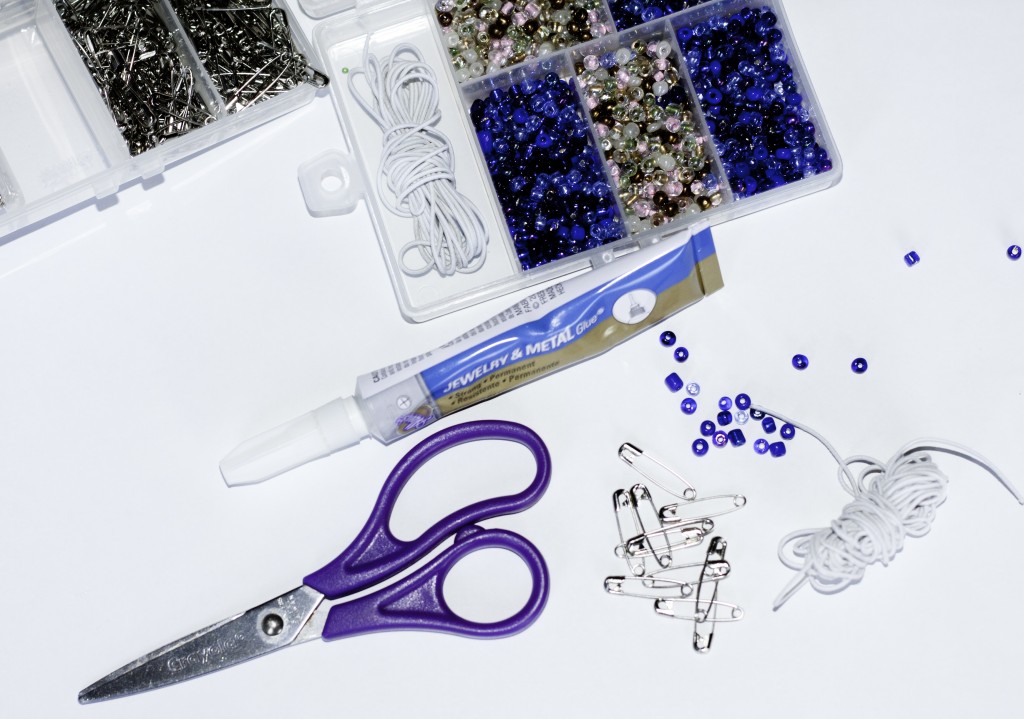
Supplies you will need for bracelets:
- Safety pins
- Elastic Cord
- Glass Beads
- Scissors
- Jewelry Glue (optional)
Step One: Bead the safety pins.
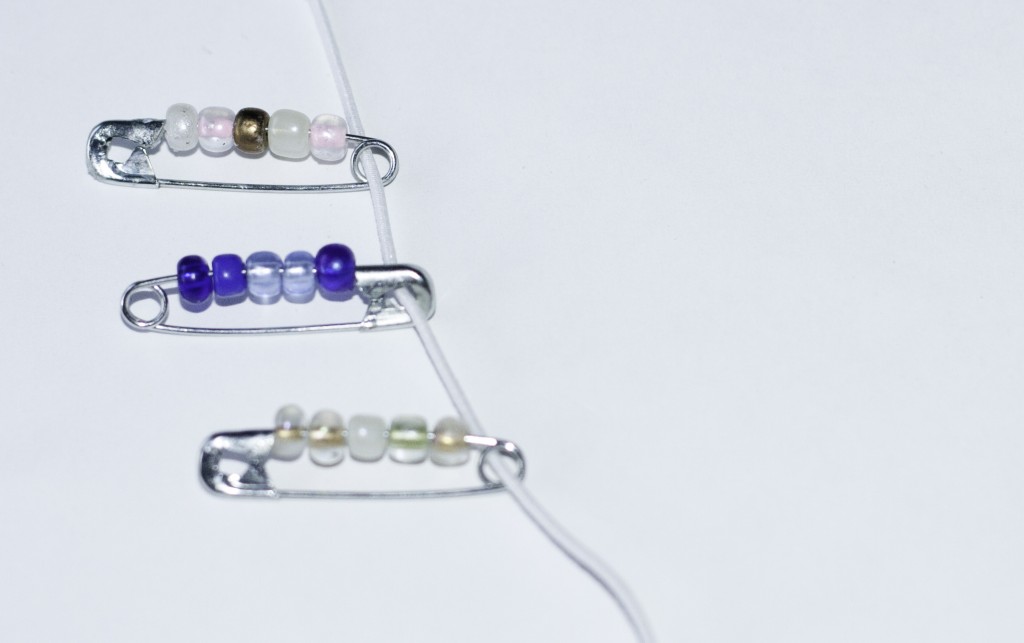
This takes a while, but it’s super easy. Simply open the pin
, place beads onto the open prong. It’s important that you leave enough space to close the bracelet. After we beaded each pin, we added glue to the top of the safety pin to ensure that it doesn’t not pop open. This was very time consuming, so we gave this job to my husband to help cut down on the time. I’m not sure this is necessary, so you could skip this step if you don’t want to spend so much time with this step. (It took exactly 42 pins to make a bracelet big enough to fit my daughter’s wrists.)
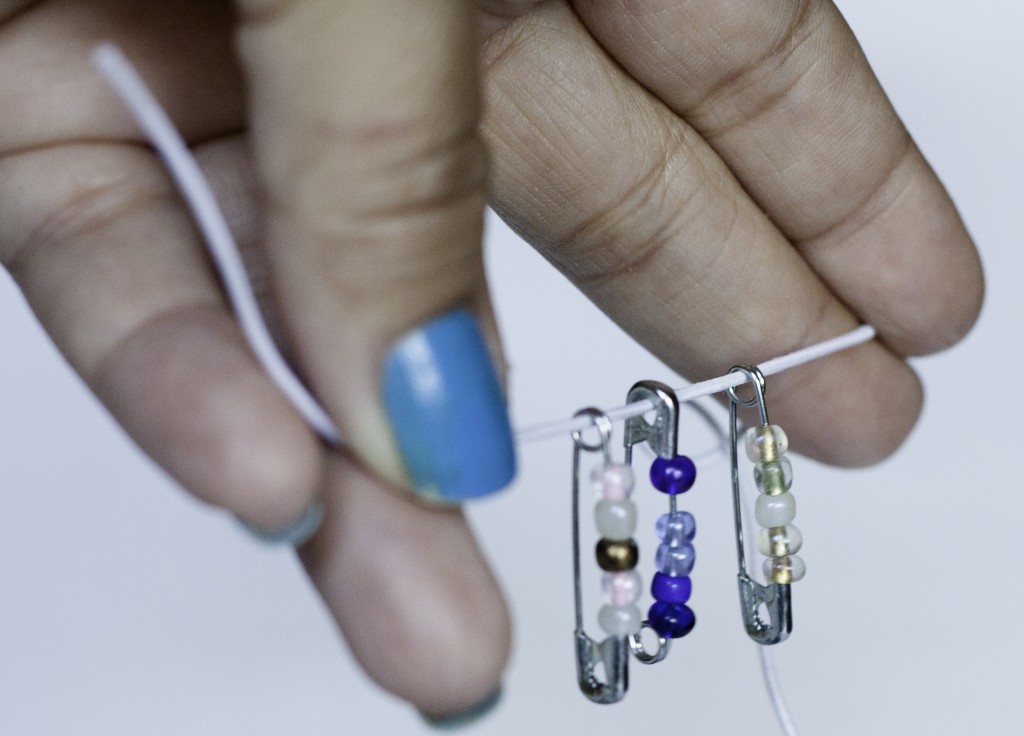
Step two: String the safety pins together.
This is the fun part! (HA HA HA NO IT’S NOT) Cut two pieces of cord long enough to a) fit around the wrist b) have room to tie off string. (I taped the end of the string to a piece of cardboard so the pins didn’t slip off while I was working.) Start by putting the string through the top opening of the safety pin, then alternate and string through the bottom opening making sure the beads are facing the same way each time.
Once you finish this, you will need to repeat this process to string the other side together. Be very careful to tie off the loose end so that the beads do not slip off while you’re working on the other end.
Step Three: Tying both ends together.
This is simple. You will tie the strings from the top row together, then tie the strings from the bottom row together. I double knotted each side and then added some glue to keep things in place. (I made the mistake of not taking a photo of this step. It’s pretty simple
, but if you have any questions, please leave them in the comments.)
Done!
Simple and so cute, yes?


These are beautiful and I’m showing this post to my daughter first thing tomorrow morning! I feel a new trend coming on! 🙂
Thank you, Lindsay! I wish we could get them together to make them together.
This are ADORABLE and now I have a need to run to the craft store and stock up on supplies…just out of curiousity- did you notice what size beads you used?
Adorable! My 9 year old would like this! How do I follow you on fb?! Thanks 🙂