Category Archives: Crafty

Valentine’s Day Craft: Hugs and Kisses Gumball Machine

Last week I stumbled across the most adorable Valentine’s Day craft and I knew I had to make one with my daughter. So

, today we hit up Michael’s and the Dollar tree to get all of the things we needed. Just under $13.00 for everything we needed. Which– awesome!
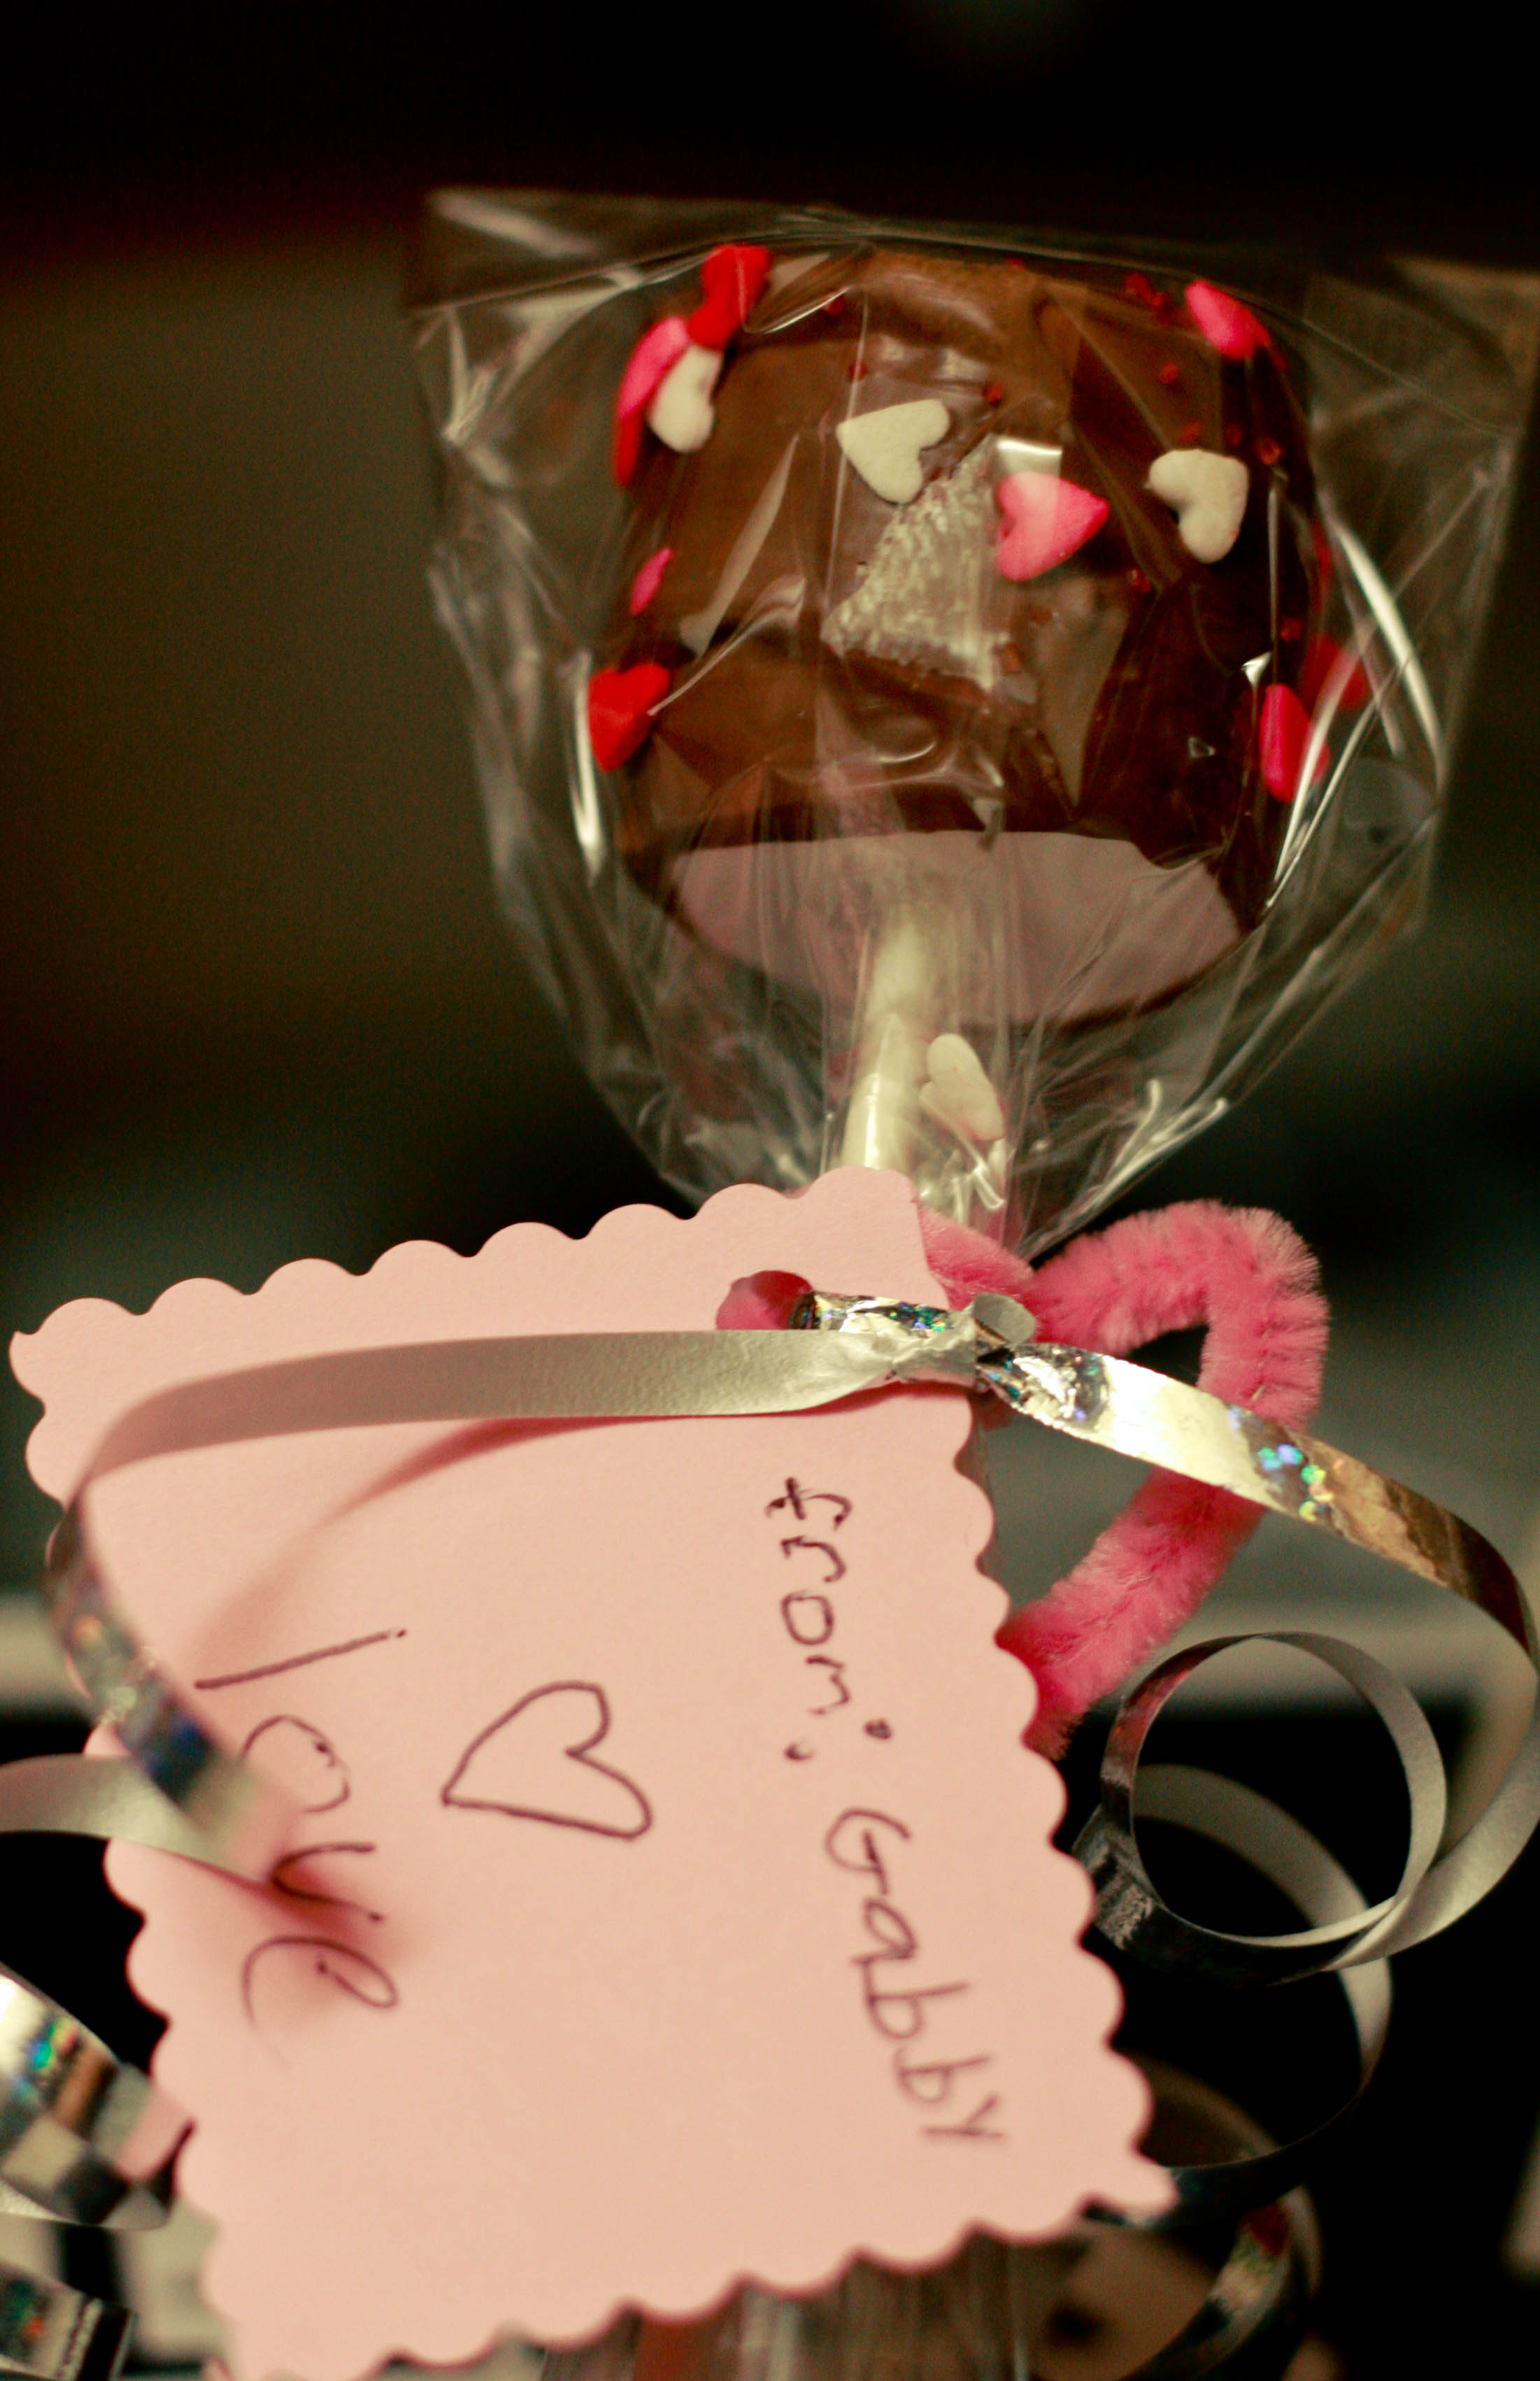
Adorable, yes?

What you need:

4″ terracotta pot
4″ terracotta saucer
wooden doll head
paint (we used outdoor patio paint, white for the base, pink for the top coat)
a small round bowl (we found one at the Dollar Tree.)
Alphabet stickers (Although we almost used a Sharpie and glitter.)
Ribbon
Candy (we used Hershey’s Kisses.)
Glue

Supplies needed for valentine's day gumball machine craft (paint, terracotta pot, glass jar)

How to Make “Gumball Machine”

paint the pot, saucer and doll head. (we did a coat of white, followed by pink after the white had dried.)
Once it’s dry, glue the doll head to the top of the saucer. Next, turn the pot upside down and glue the jar on top. Fill the jar with candy and once everything is dry, add the lid (the saucer with the doll head on top.)

Child panting terracotta pot with white paint

child painting a terracotta pot

Super easy, super quick, super ADORABLE.

(Originally found at Love Sweet Love.)

Dip It In Chocolate and Put a Stick In It. Valentine’s Day Treats, 2012.

Today did not go at all the way that I had planned. At about four in the afternoon, I was all “Oh, crap! Valentine’s Day is tomorrow! What will Gabby take for her class?”
She wanted to make the iPod candy’s she made last year, but there just wasn’t time. I am not a crafty person nor am I the kind of person who can come up with adorable ideas on the spot. I need to research and think and possibly pray/cry to make crafts happen. But you guys! I saw a bag of marshmallows in the cabinet and was like I’VE GOT THIS.
I sent Pighunter to the candy store with a short list.
Melting milk chocolate, sticks for suckers, heart shaped sprinkles and little baggies.
I had pink pipe cleaner and paper for tags.
Then this happened.
751 (1 of 1).jpg
754 (1 of 1).jpg
755 (1 of 1).jpg
757 (1 of 1).jpg
758 (1 of 1).jpg
760 (1 of 1).jpg
763 (1 of 1).jpg
And that’s about as creative as it’s gonna get up in here for Valentine’s Day.

Friendship Rings For Valentine’s Day

Tonight me and my daughter did a few Valentine’s Day crafts.
This one found on Disney Family Fun is so simple, but so fun. I thought I’d share how Gabby’s turned out.
571 (1 of 1).jpg
I bought pre-cut heart shaped foam because I am a lazy crafter.
565 (1 of 1).jpg
So easy, Gabby could do it all by herself. Which of course, makes it my favorite craft ever.
572 (1 of 1).jpg
563 (1 of 1).jpg
569 (1 of 1).jpg
What the back looks like.
570 (1 of 1).jpg
Happy girl, adorable rings. Crafting WIN!

My Daughter Teaches You How to Make an Adorable Christmas Ornament

I should have titled my last post “Sometime Next Week.” I’m such a jerk. I’m sorry for leaving you hanging.
Today my daughter brought home a beautifully wrapped gift with the most thoughtful note attached. I opened it up and found a hand made ornament.
I am a sucker for hand made ornaments. I’ve made them with my children throughout the years and they are by far my favorite decorations on the Christmas tree each year.
This ornament was particularly adorable– snowmen made out of her little hand print.
“This is adorable, G!” I said. “I absolutely love it and can’t wait to put it on the tree!”
I asked her to tell me how she made it because I would love to share the idea with my friends.
“Can I help you write it and put it on your Joy Unexpected?” She said.
(How does she know about my Joy Unexpected? And has she told my parents about my Joy Unexpected? Must investigate this further.)
I told her that I thought it would be wonderful if she would share how she made the ornament with all of my friends on my Joy Unexpected. So, we sat down at my computer and I typed while she talked.
“First, you need to tell them the ingredients.”

  • Clear, plastic ornament
  • White paint
  • Black and orange markers. A brown marker too if you want.
  • Blue straight, shiny ribbon
  • Gold ribbon

First- We painted our hands with white paint. Then we put our hand print carefully on the ornament.
Second: We drew the eyeballs on the five fingers to make them look like snowmen.
Third: We drew an upside-down carrot nose with orange marker
Fourth: We drew the mouth with little dots and buttons with a black marker.
Fifth: We added arms with brown or black marker and added a hat with a black marker.
After it dried all the way, we added blue ribbon to the inside of ornament. Then we tied a ribbon at the top to hang it from the tree.
Oh! Don’t forget to sign your name at the bottom!
281 (1 of 1).jpg
279 (1 of 1).jpg

Graveyard Brownies: Not a (Total) Fail!

I am not one of Those Creative-Type Mothers and no matter how hard I try, I will never BE one of Those Mothers. But, it’s Halloween and I’m supposed to make crafts and create Halloween type treats with my children. So, today I attempted to make these graveyard brownies I saw a Picky-Palate with my daughter.

Usually, when I attempt these type of things, it doesn’t end well. There are usually tears, sometimes injuries, thoughts of divorce, threats to run away, etc…I’m happy to report that none of those things happened today.

G & Mommy make Graveyard Brownies, a Photo Essay.

Washing her hands, excited to get started on the brownies!
ex21 (1 of 1)

Still excited! Mmmmm brownies!
ex20 (1 of 1)
Will ours look anything like that? Probably not, but we’re doing the damn thing anyway.
ex19 (1 of 1)

Helping is fun, but man, that chocolate sure looks good. I think I’d much rather be eating chocolate than making these brownies.

ex23 (1 of 1)

Oh, look! A chocolate chip!

ex24 (1 of 1)

Aaaand, she’s out. Thanks for the “help”, G!

ex25 (1 of 1)

The thing that I was the most worried about was getting the brownies out of the pan in one piece. Turns out, spraying the crap out of the pan with Crisco flour non stick spray works!

ex26 (1 of 1)

I wasn’t sure how I was going to write “RIP” on the cookies. Turns out, I’m kind of a genius.

ex27 (1 of 1)

The end result? Definitely not as awesome as the the ones pictures in the recipe, but not as bad (ugly?) as I expected.

ex30 (1 of 1)

ex31 (1 of 1)

(Originally found on Picky-Palate.com )

Teacher Gifts: It’s the Thought That Counts, Not the Size or Spacing of the Writing. Right?

One thing that I have accepted about myself is that I am not a crafty/creative person.
It doesn’t keep me from trying every once in a while. My kids usually cringe in fear (embarrassment?) when I announce that I’m going to try to make a gift instead of buying a gift.

“Homemade gifts are special.” I say. And when I make them, they are “extra” “special.” If you know what I’m saying and I think that you do. (See: These creations for a reference.)
Today is my daughter’s last day of Kindergarten. I wanted to give her teacher something special. I decided to try to replicate a gift that we had made for The Teenager’s kindergarten teacher. I couldn’t find the picture of the one we had made eleven years ago, so we did the best we could based on what we could remember.

I was up until 1am last night putting the final touches on it.

This is what Gabby will be giving to her teacher today.

We tried. We really did.

Hem THIS.

My daughter has had a bit of a growth spurt recently. She’s still a short little thing, but some of her jeans are suddenly looking a little questionable in the length. So, to avoid her getting teased in preschool for wearing “high waters” (Kids, these days.) I decided it was time to get rid of the jeans.
As I was stacking the clothes into little storage box, I had an amazing idea. One that would save us money! Because it’s a recession! I was all “I’ll just cut these jeans and turn them into shorts!”
I cut coupons, why not cut my daughter’s jeans?
Logical, yes?
There were only two possible problems.
1. The only thing that I have ever sewn in my entire life is potholders made from my Grandma’s material scraps.
2. I do not own a sewing machine.
But who needs a sewing machine when one has a sewing kit in a bag that one bought at Target on clearance for $4.99?
If thine can thread a needle, thine can turn jeans into shorts. (I learned that from The Bible. Of FRUGALITY.)
I was very confident I could do this and make it look good. So, I laid the jeans on the floor and began to cut. I did my best to make sure the cuts were straight and even. (Keep in mind that “my best” probably equals “your worst” when it comes to cutting things. See: This Post.) After I finished cutting the jeans, I threaded the needle and began to “sew” away. I can’t lie, I was totally excited about a)my desire to do something so “homemaker-y” b) saving a little money on buying new shorts for my daughter I even had a blog post in mind titled something like “Y’s guide to save money on back to school shopping. FRUGALITY RULEZ!”
But about 8 stitches in I realized I couldn’t sew a straight hemline. Nor could I space the stitches out properly. The vision I had in my head of a slightly flawed, yet well done hemline started to look a little bit like this:
untitled
But I kept going. I started this bitch, I was going to finish it.
It only took me about 30 minutes and 67 bad words to finish. And in the end, I had a cute little pair of shorts.
A cute little pair of shorts with an effed up hemline that she can’t wear anywhere in public.
005
006
Which, fine. Whatever. PLAY SHORTS!
I’d love to hear any stories you have of “frugal gone wrong.” I mean, I’m not the only one who fails hard at these kind of things, right?